Understanding the IR Filter in Digital Cameras: A Brief Introduction
Alright, picture this: you've got your fancy digital camera, ready to capture some stunning shots, when suddenly you find out about this sneaky little thing called the IR filter. Now, what the heck is that? Well, my friend, it's like a secret agent that hides infrared light from reaching your camera's sensor. But fear not, for those brave souls who dare to venture into the realm of DIY camera modifications, there's a way to remove this undercover agent. By bidding farewell to the IR filter, you can unlock a whole new world of photography possibilities, where colors go wild and unseen details come to life. Just remember, this operation requires a steady hand, a dash of technical know-how, and a pinch of courage. So, grab your tools and get ready to unleash the true potential of your camera!
Tools and Preparations: Getting Ready for IR Filter Removal
An interesting fact about removing an IR filter from a digital camera is that it can unlock a whole new world of photography possibilities. By removing the IR filter, the camera becomes more sensitive to infrared light, allowing photographers to capture stunning images that are invisible to the naked eye. This opens up a whole new realm of creative opportunities, such as capturing ethereal landscapes, revealing hidden patterns in vegetation, or even experimenting with infrared portraiture.
Now, before you embark on your mission to remove the IR filter from your digital camera, it's essential to gather the right tools and make some preparations. First things first, you'll need a clean and well-lit workspace, preferably with a magnifying glass handy for those intricate maneuvers. Next, arm yourself with a set of precision screwdrivers, as those tiny screws won't unscrew themselves. Oh, and don't forget a pair of tweezers, because those delicate components require a gentle touch. Lastly, a healthy dose of patience and a steady hand are crucial for this operation. So, take a deep breath, gather your tools, and get ready to embark on this daring adventure into the realm of camera modifications!
Step-by-Step Guide: Removing the IR Filter from Your Digital Camera
Step 1: Prepare for the Operation Before diving into the intricate process of removing the IR filter from your digital camera, it's crucial to ensure your camera is powered off and the battery is removed. This will prevent any accidental damage and keep you safe throughout the procedure. Additionally, gather all the necessary tools mentioned earlier, ensuring they are within reach.
Step 2: Disassemble the Camera Now comes the moment of truth - disassembling your camera. Start by removing the outer casing carefully, using the appropriate screwdrivers to unscrew the tiny screws holding it in place. Take your time and keep track of each screw, as losing one could lead to a frustrating search party. Once the casing is removed, you'll be able to access the internal components of your camera.
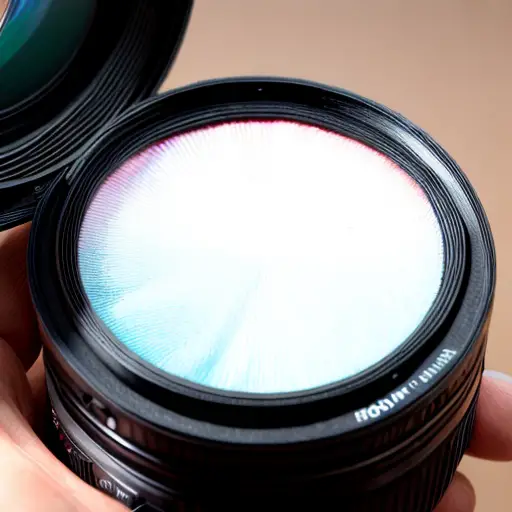
Step 3: Locate and Remove the IR Filter With the camera's internal components exposed, it's time to locate the IR filter. This filter is typically situated near the sensor, so keep an eye out for a small glass or plastic piece. Using your tweezers, gently lift the IR filter, being cautious not to damage any surrounding components. Slow and steady wins the race here, as any sudden movements could result in unwanted consequences.
Step 4: Clean and Reassemble Congratulations, you've successfully removed the IR filter! But before you celebrate, take a moment to clean the sensor and any other components that may have collected dust or debris during the process. A soft, lint-free cloth or a specialized cleaning solution should do the trick. Once everything is sparkling clean, carefully reassemble your camera, ensuring all screws are tightened securely.
Step 5: Test and Enjoy With your camera back together, it's time to put it to the test. Power it on, adjust the settings, and start capturing images like never before. Without the IR filter, you'll notice a whole new world of vibrant colors and enhanced details in your photographs. So, go out there and let your creativity run wild, knowing that you've successfully conquered the IR filter removal challenge!
Remember, this guide is intended for those with a good understanding of camera mechanics and a willingness to take on a DIY project. If you're unsure or uncomfortable with the process, it's always best to seek professional assistance to avoid any potential damage to your beloved camera.
Post-IR Filter Removal: Adjustments and Considerations for Optimal Infrared Photography
Fun fact: Did you know that removing the IR (infrared) filter from a digital camera can allow you to capture stunning and unique images? By removing the IR filter, which is typically placed in front of the camera's sensor to block infrared light, you can explore the world of infrared photography. This technique enables you to capture ethereal landscapes, surreal portraits, and even see through certain materials that are opaque to the naked eye. So, if you're feeling adventurous and want to experiment with a different kind of photography, consider removing the IR filter from your digital camera!
Now that you've successfully removed the IR filter from your digital camera, it's time to explore the exciting world of infrared photography. However, there are a few adjustments and considerations to keep in mind for optimal results. Firstly, since your camera is now more sensitive to infrared light, it's essential to use appropriate filters when shooting in regular daylight to avoid unwanted color shifts. Additionally, experimenting with different white balance settings can help achieve the desired infrared effect. Lastly, don't forget to explore the fascinating realm of infrared post-processing techniques, such as channel swapping and false color conversions, to truly unleash the artistic potential of your infrared images. So, grab your camera, embrace the infrared spectrum, and let your creativity soar!