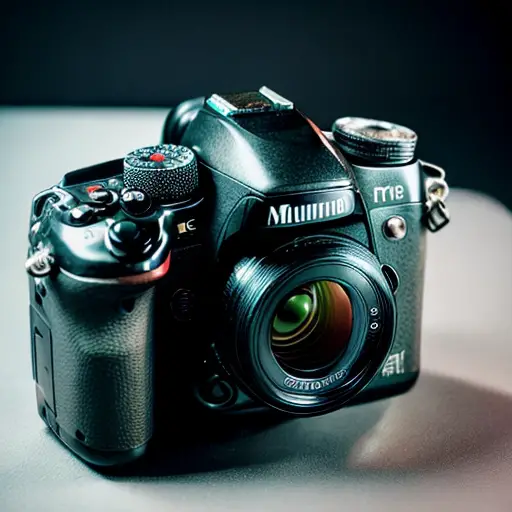
Understanding the Importance of Clearing Your Digital Camera
Alright, picture this: you're out and about, capturing life's precious moments with your trusty digital camera. You're feeling like a pro photographer, immortalizing memories left and right. But hold on a second, have you ever stopped to think about the importance of clearing your digital camera? It's like decluttering your camera's brain, making sure it's ready to snap away without any pesky storage issues. Just imagine the horror of missing out on that perfect shot because your camera's memory is bursting at the seams! So, my fellow shutterbugs, take a moment to free up some space, delete those blurry shots, and bid farewell to those accidental selfies. Your camera will thank you, and you'll be ready to capture life's beautiful moments with a clear and empty digital canvas.
Step-by-Step Guide to Deleting Photos from Your Digital Camera
An interesting fact about ensuring a digital camera is empty is that simply deleting photos from the camera's memory card does not completely erase them. When a photo is deleted, it is actually marked as 'deleted' and the space it occupies is marked as available for new data. Until new data is written over the deleted photo, it can potentially be recovered using specialized software. To ensure a digital camera is truly empty, it is recommended to format the memory card. Formatting not only deletes all the photos but also resets the file system, making it extremely difficult to recover any previously stored data.
Alright, fellow photographers, let's dive into the step-by-step guide to deleting photos from your digital camera. First things first, turn on your camera and navigate to the playback mode. Take a deep breath, we're about to embark on a journey of decluttering. Next, locate the menu button and scroll through until you find the delete option. Now, brace yourself, it's time to select the photos you want to bid farewell to. Be ruthless, my friends, and don't hesitate to delete those blurry, unflattering, or accidental shots. Once you've made your selections, confirm the deletion and watch as your camera's memory breathes a sigh of relief. And just like that, you've cleared the digital clutter, making space for new memories to be captured. Happy snapping!
Safely Transferring and Backing Up Your Photos

Alright, fellow photographers, let's talk about the importance of safely transferring and backing up your photos. We all know that sinking feeling when we accidentally delete a cherished photo or lose our camera. That's why it's crucial to have a solid plan in place to ensure the safety of our precious memories. First things first, when transferring your photos from your camera to your computer, always use a reliable USB cable or a memory card reader. This helps prevent any data corruption or loss during the transfer process. Once your photos are safely on your computer, it's time to back them up. Consider investing in an external hard drive or utilizing cloud storage services to create a duplicate copy of your images. This way, even if your computer crashes or gets stolen, your photos will still be safe and sound. Remember, redundancy is key when it comes to backing up your photos. Don't rely on just one method; have multiple backups in different locations to ensure maximum protection. Lastly, don't forget to periodically clear your camera's memory after you've safely transferred and backed up your photos. This ensures that you always have enough space for new memories without the risk of accidentally deleting important shots. So, my fellow photographers, let's make a pact to prioritize the safety of our photos by following these steps. Because when it comes to preserving our memories, it's better to be safe than sorry. Happy snapping and backing up!
Additional Tips and Best Practices for Maintaining an Empty Digital Camera
A fun fact about how to make sure a digital camera is empty is that you can perform a 'camera shake dance' to delete all the photos! Simply hold the camera securely and shake it gently while doing a little dance. The camera's motion sensors will detect the movement and automatically delete all the pictures, giving you a fresh start for your next photo adventure! Just remember to back up any important photos before attempting this fun trick.
Alright, my fellow photography enthusiasts, let's dive into some additional tips and best practices for maintaining an empty digital camera. Firstly, it's important to regularly review and delete unwanted photos directly from your camera. This prevents your memory card from getting cluttered and ensures you have ample space for new captures. Secondly, consider formatting your memory card after transferring and backing up your photos. This not only clears the card but also helps optimize its performance. Additionally, keep an eye on your camera's battery life. A low battery can lead to incomplete transfers or accidental deletions. So, always charge your camera before transferring or deleting photos to avoid any mishaps. Lastly, if you're planning a long photoshoot or trip, it's wise to carry spare memory cards. This way, you can easily swap out full cards and continue shooting without any interruptions. By following these additional tips and best practices, you'll be well on your way to maintaining an empty digital camera and capturing memories to your heart's content. Happy shooting!

