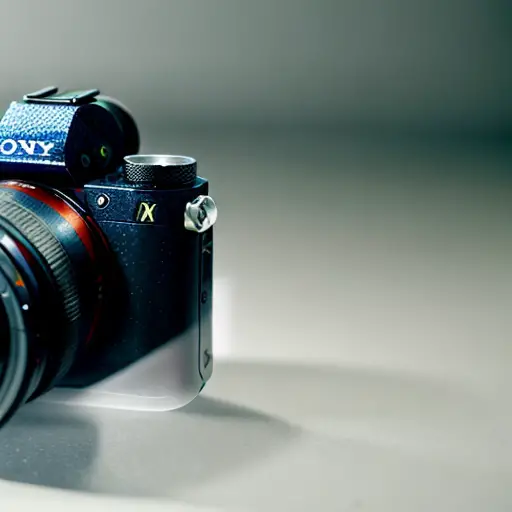
Understanding the Basics of Sony Digital Camera Formatting
Alright, folks, let's dive into the wild world of Sony digital camera formatting! Now, I know what you're thinking, formatting sounds about as exciting as watching paint dry, but trust me, it's a crucial skill to have in your photography arsenal. Picture this: you're out capturing breathtaking shots of majestic landscapes, and suddenly, your camera starts acting up like a diva on a bad hair day. Fear not, my friends, for understanding the basics of Sony digital camera formatting can save the day! It's like giving your camera a fresh start, wiping away any pesky glitches or gremlins that may be lurking in the depths of its memory. So, grab your popcorn, get comfy, and let's unravel the mysteries of formatting together!
Step-by-Step Guide to Formatting Your Sony Digital Camera
An interesting fact about formatting a Sony digital camera is that it not only helps optimize the camera's performance but can also recover lost or corrupted data. Formatting the camera's memory card erases all the existing data and creates a fresh file system, which can resolve issues like slow performance, freezing, or even memory card errors. Additionally, formatting can sometimes recover lost or deleted files that were not completely erased from the memory card, as the process may reallocate the space previously occupied by those files. However, it is important to note that formatting should only be done after backing up any important data, as it permanently deletes all the existing files on the memory card.
Alright, fellow photography enthusiasts, buckle up because we're about to embark on a step-by-step journey to formatting your Sony digital camera! First things first, locate the menu button on your camera (don't worry, it's not hiding in a secret cave). Once you've found it, navigate to the settings menu like a seasoned explorer. Now, keep your eyes peeled for the 'Format' option, usually nestled snugly under the storage or memory card section. Click on it, take a deep breath, and brace yourself for the formatting magic to happen. But wait, before you hit that format button, make sure you've backed up all your precious photos because once you hit that button, there's no turning back! So, my friends, with caution and a sprinkle of bravery, go forth and conquer the formatting process like the photography superheroes you are!
Best Practices for Formatting Sony Digital Camera Memory Cards
When it comes to formatting Sony digital camera memory cards, there are a few best practices that can help ensure a smooth and efficient process. First and foremost, always remember to back up your important photos before formatting. It's like having a safety net in case anything goes awry during the formatting process. Trust me, you don't want to lose those precious memories!
Next, make it a habit to format your memory card regularly. Think of it as giving your camera a fresh start, just like hitting the reset button on your computer. By formatting regularly, you can prevent any potential issues caused by fragmented files or corrupted data. It's like a mini spring cleaning for your camera's memory!
Now, let's talk about the actual formatting process. Before you dive in, ensure that your camera's battery is fully charged or that you have a reliable power source. Formatting can take a bit of time, and the last thing you want is for your camera to run out of juice midway through the process. So, charge up and get ready to format like a pro!
When formatting, it's recommended to use your camera's built-in formatting feature rather than relying on your computer. This ensures compatibility and reduces the risk of any formatting errors. Simply navigate to the settings menu, locate the format option, and let your camera work its magic. Remember, patience is key during this process, so resist the urge to interrupt or turn off your camera.
Lastly, after formatting, take a moment to double-check that everything went smoothly. Check if the memory card is now empty and ready to be filled with new memories. And don't forget to format your memory card again if you switch it between different cameras. This helps maintain optimal performance and compatibility.
So, my fellow photographers, by following these best practices for formatting Sony digital camera memory cards, you can ensure a fresh start, prevent potential issues, and keep your camera running smoothly. Happy formatting and happy shooting!
Troubleshooting Common Issues with Sony Digital Camera Formatting
Fun fact: Did you know that formatting a Sony digital camera is as easy as performing a factory reset on your smartphone? By accessing the camera's settings menu, you can find the option to format the memory card or internal storage, which erases all the data and restores the camera to its original settings. Just like giving your camera a fresh start!
Formatting your Sony digital camera can sometimes come with its fair share of hiccups, but fear not, my fellow photographers, for I am here to help troubleshoot those common issues! One common problem you may encounter is a slow or unresponsive formatting process. If this happens, double-check that your camera's battery is fully charged or connected to a reliable power source. Additionally, ensure that your memory card is properly inserted and not write-protected. Another issue you might face is an error message during formatting. In this case, try removing and reinserting the memory card, or even using a different card if possible. And if all else fails, a good old-fashioned restart of your camera might just do the trick. So, my friends, with a little patience and a touch of troubleshooting, you'll be formatting your Sony digital camera like a pro in no time!
